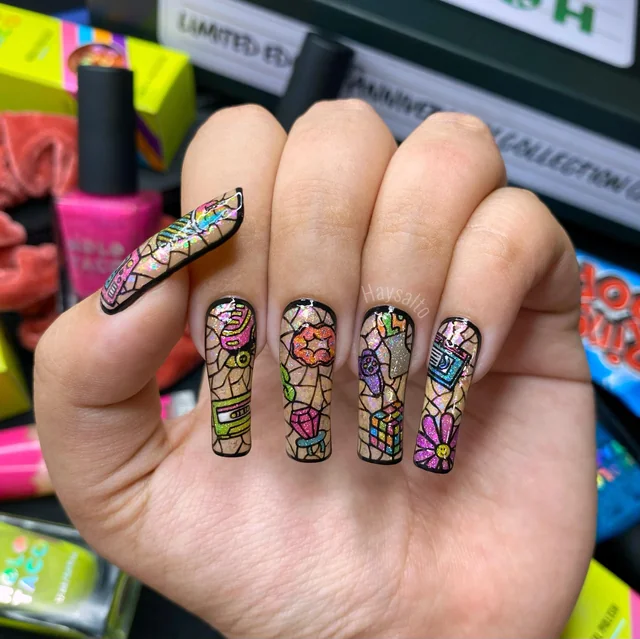
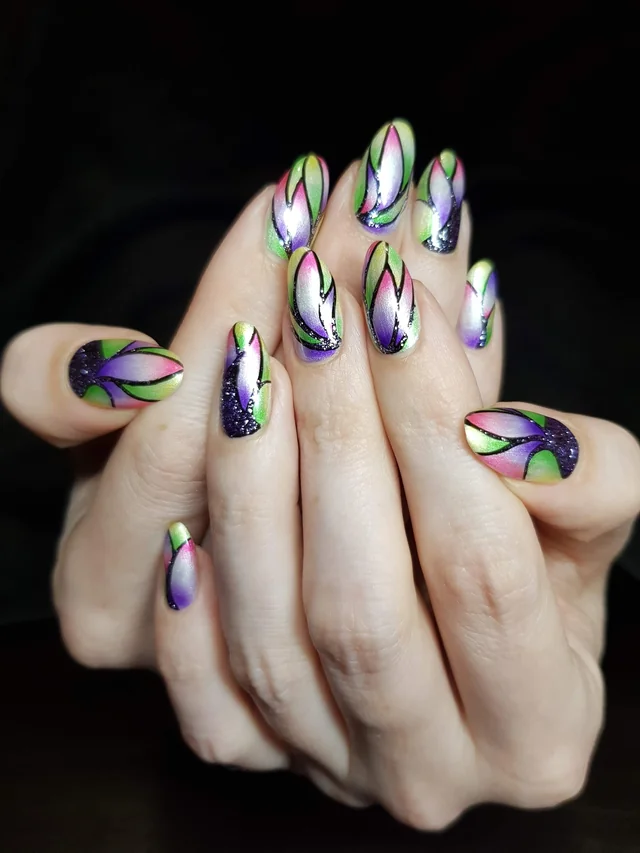
Step-by-Step Guide to Achieving Perfect Stained Glass Nail Art
Stained glass nail art is a stunning way to showcase creativity and color on your fingertips. This beautiful design mimics the intricate patterns and vibrant hues of stained glass windows, making it a favorite among nail art enthusiasts. Whether you’re a beginner or an experienced nail artist, this step-by-step guide will help you achieve perfect stained glass nails at home.
1. Prepare Your Nails
Start with clean, dry nails. Remove any old nail polish and trim or file your nails to your desired shape. Push back your cuticles gently and apply a base coat to protect your natural nails and create a smooth canvas for the polish.
2. Choose Your Design
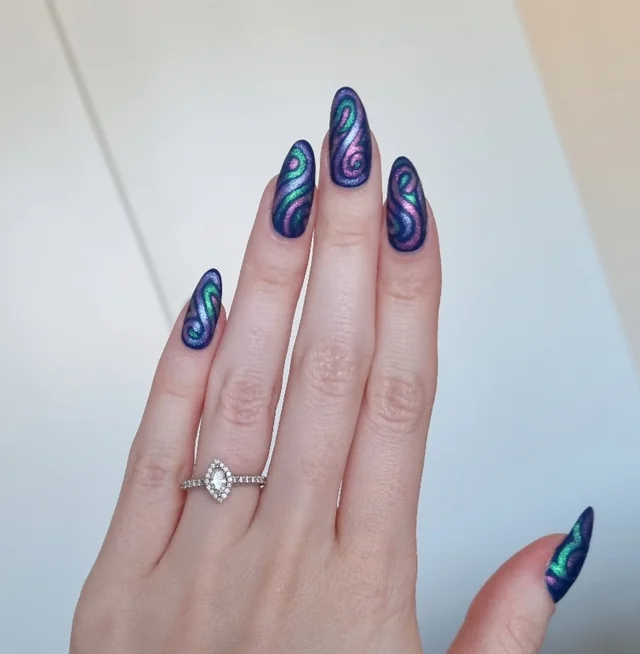
Before you begin painting, decide on the design you want for your stained glass nails. Popular options include geometric patterns, floral designs, or abstract shapes. You can sketch your design on paper or create a digital mock-up to help visualize the final look.
3. Apply the Base Color
Once your base coat is dry, apply a solid color polish as the background for your stained glass effect. White, light gray, or pastel shades work well, but feel free to experiment with colors that complement your design. Let the base color dry completely before moving on to the next step.
4. Create the Outline

Using your black nail polish and a fine-tip brush or nail art brush, carefully outline your chosen design. This will serve as the lead framework of your stained glass look. Take your time to ensure clean, precise lines. If you make a mistake, don’t worry—use nail polish remover to correct it.
5. Fill in the Colors
Now comes the fun part! Using various colored polishes, fill in the outlined sections of your design. You can use a dotting tool or a brush for more control. Try to keep the colors within the lines to maintain the stained glass effect. Feel free to mix colors and create gradients for added depth.
6. Use Nail Tape for Precision
For more intricate designs, consider using nail tape or striping tape to create clean, straight lines. Apply the tape to your nails before painting, ensuring it sticks well to prevent polish from bleeding underneath. Once you’ve applied your colors, carefully remove the tape while the polish is still wet for the best results.
7. Add Highlights and Shadows
To give your stained glass nail art more dimension, add highlights and shadows to your colored sections. Use a lighter shade of the original color for highlights and a darker shade for shadows. This technique enhances the illusion of depth, making your design pop.
8. Seal the Design
Once you’re satisfied with your stained glass design, let the colors dry completely. Afterward, apply a high-quality top coat to seal your artwork and add a glossy finish. This step will help protect your nails and keep your design looking fresh for longer.
9. Clean Up
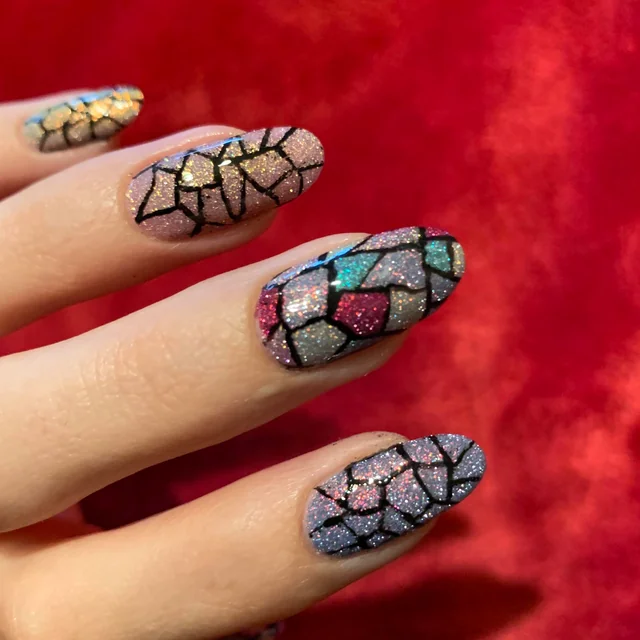
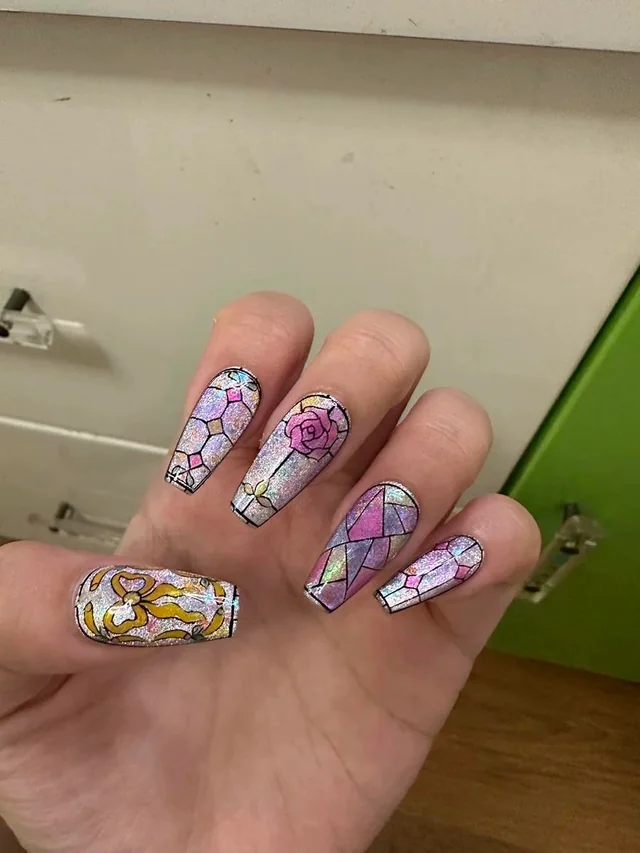
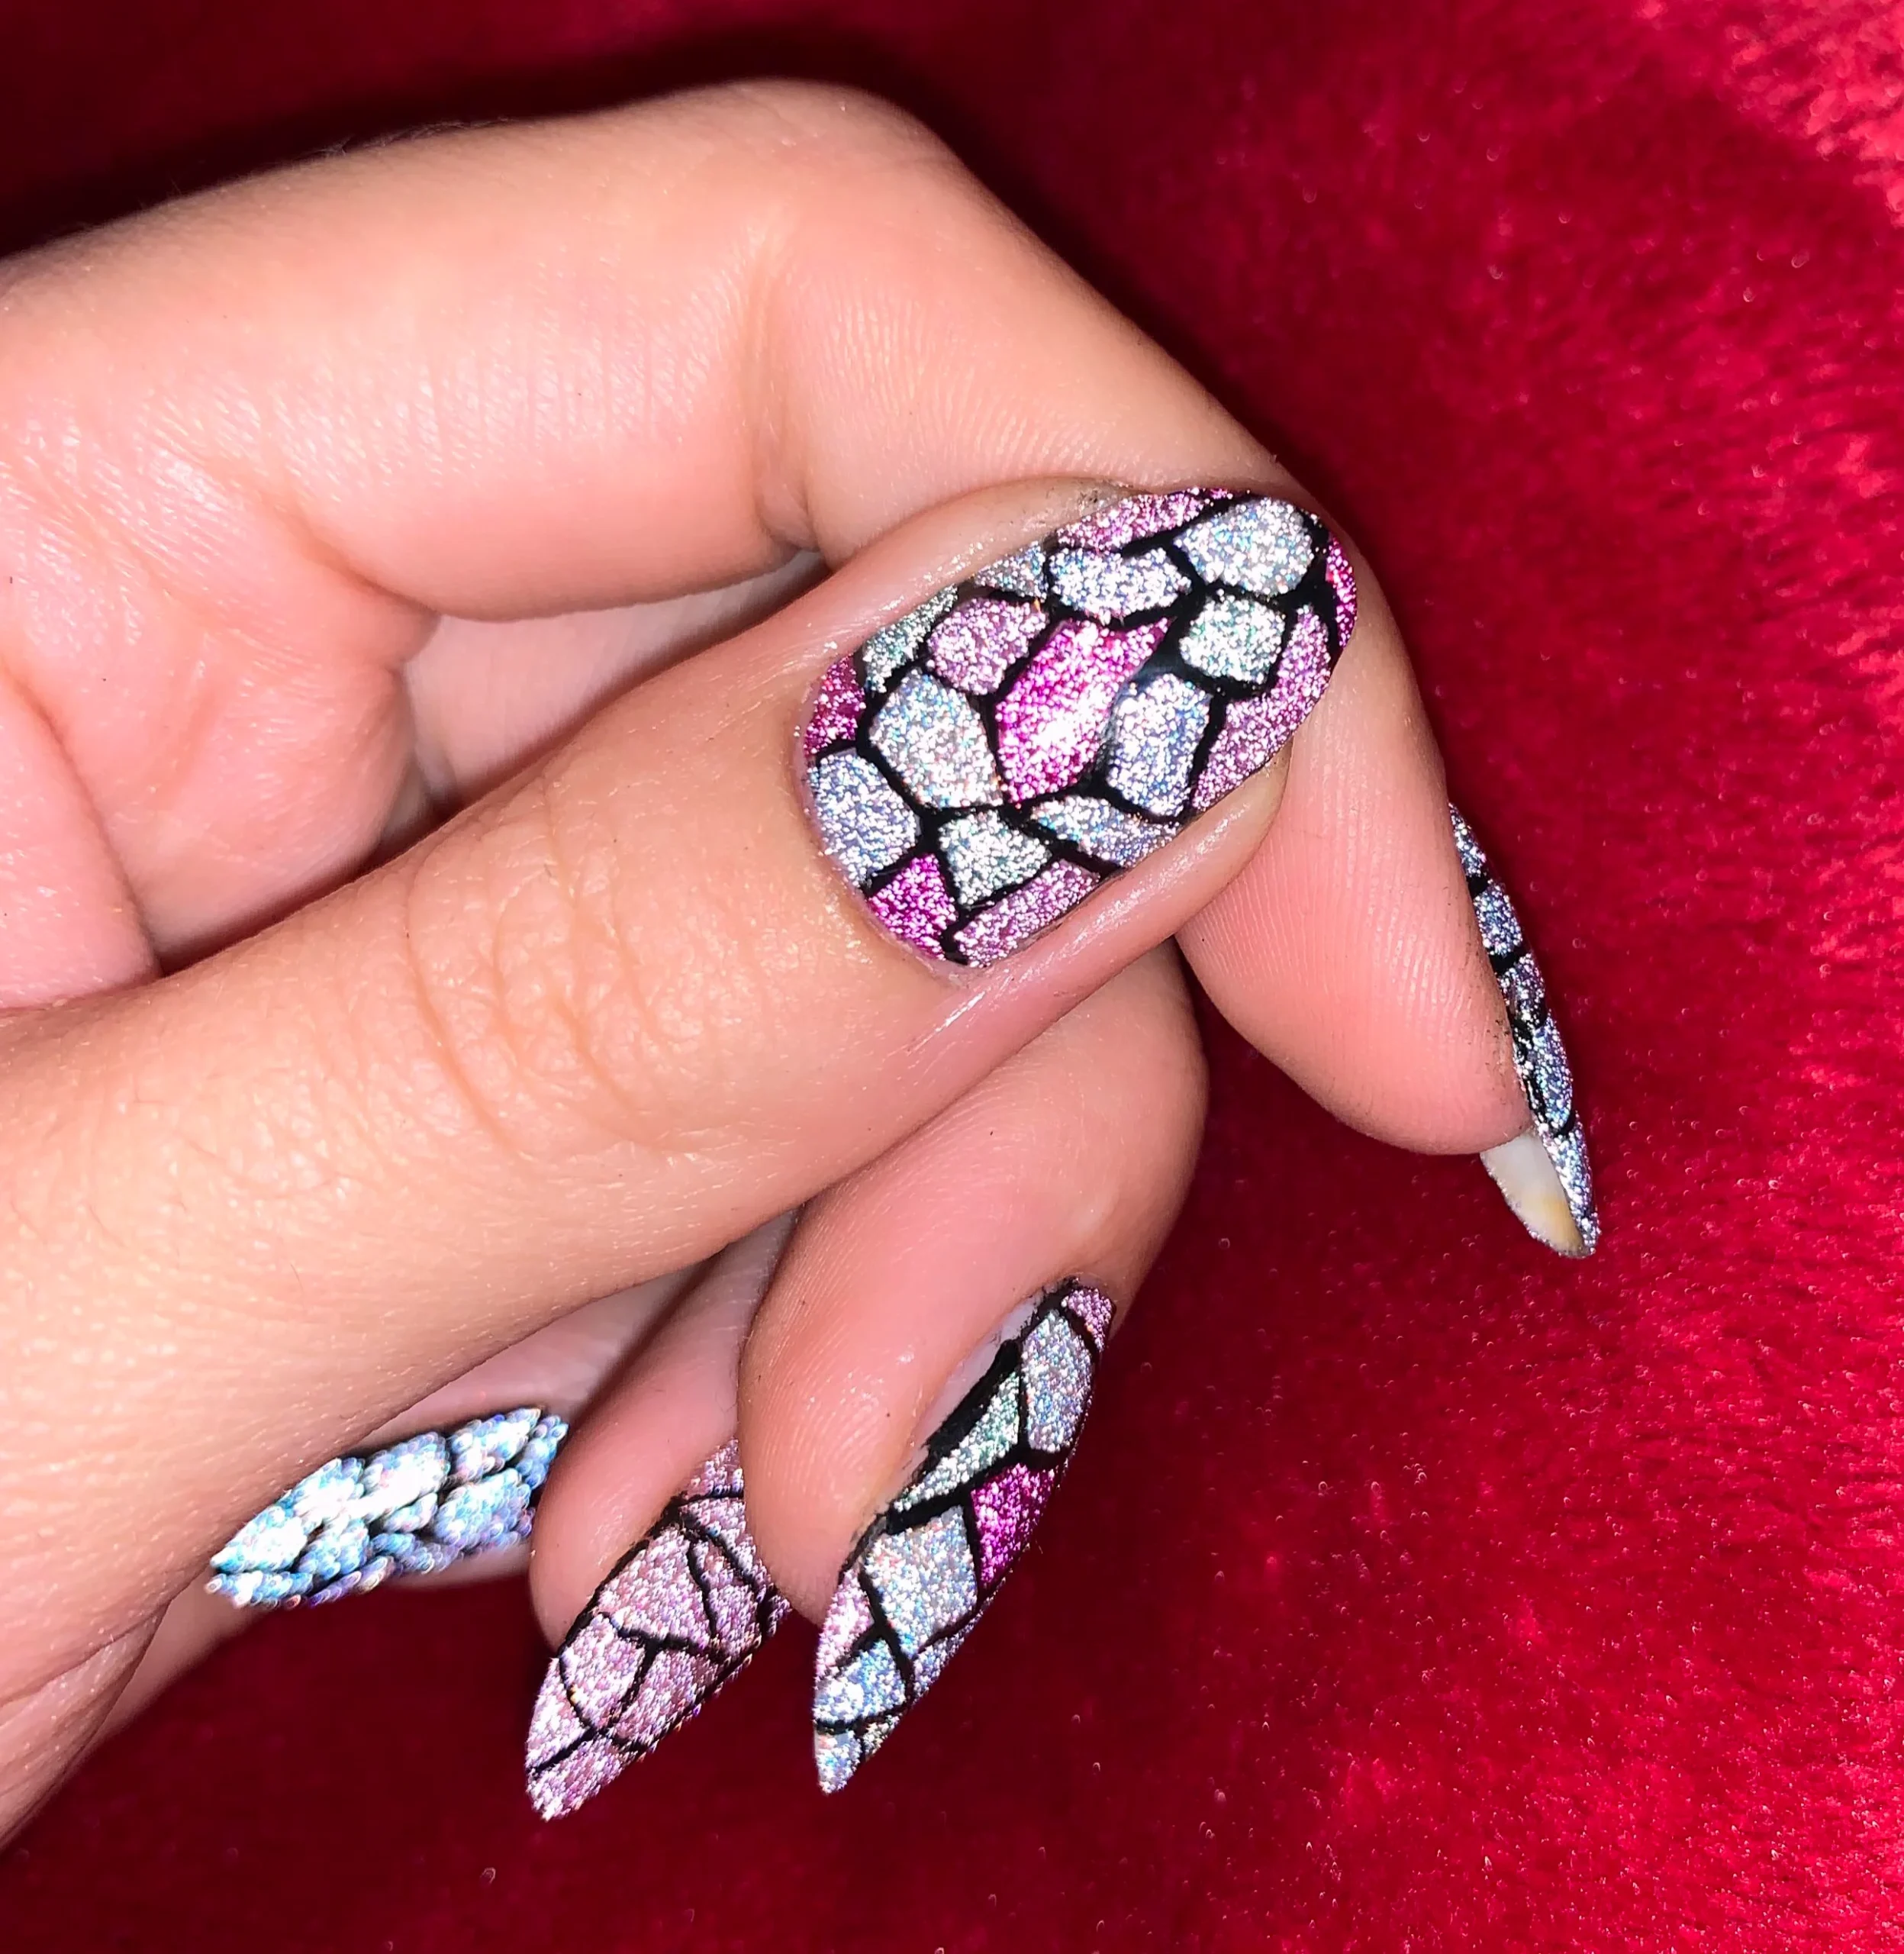
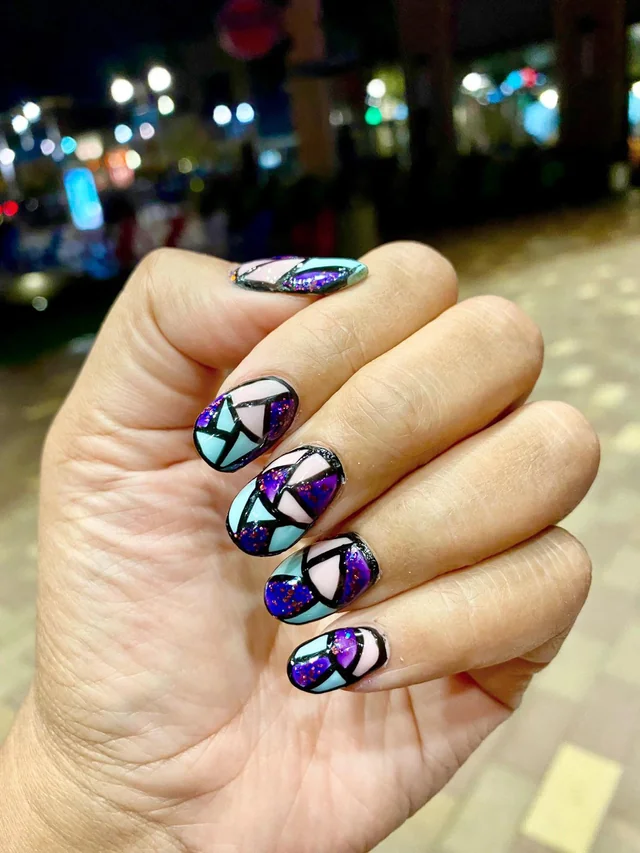
 Source
After applying the top coat, clean up any excess polish around your nails. Use a small brush dipped in nail polish remover or a clean-up pen to carefully remove any smudges or mistakes. This step ensures that your stained glass nail art looks polished and professional.
10. Show Off Your Nails

Now that your stained glass nails are complete, it’s time to show them off! Take photos, share them on social media, or simply enjoy the compliments from friends and family. Remember to maintain your nails by applying cuticle oil and moisturizing regularly to keep them healthy.
Conclusion
Achieving perfect stained glass nail art is a fun and creative process that anyone can master with a little practice. By following these steps, you can create stunning designs that mimic the beauty of stained glass. So grab your supplies, unleash your creativity, and enjoy showcasing your beautiful stained glass nails
